
Photography Basics: Top 10 Things To Know About Your Entry Level DSLR
There are affiliate links in this post.
I’ve been a blogger since 2009. It’s a little embarrassing that I just bought an entry-level DSLR for the first time in late 2017. Prior to that, I had relied on point and shoot cameras. For a few years, I stopped using auto and had learned how to use the settings in my point and shoot to my advantage, but there’s only so many options with a point and shoot. So when it broke in the fall, I knew I was going to go with an entry-level DSLR. I had several Best Buy gift cards saved up from campaigns I did for Best Buy on my other blog, so I knew I would buy a camera from Best Buy. That really helped lower my options which was a blessing because there are just so many options out there. I had read that most entry-level cameras are really quite similar, so it’s not something to get too worked up over, but that is easier said than done. It was around Black Friday, so I waited to see what was on sale and chose from the cameras that were in the sale. I went with the Nikon D3400 which came with two lenses, a memory card and a carrying bag. For the first month or so, I left it in auto out of nerves. I knew that was silly. So, I decided to focus on learning more. I was frustrated by how terribly basic most of the tutorials I came across were. I’ve dived a bit deeper, and while I still only have about six months under my belt, I thought I would share the top 10 most useful things I’ve learned so far.
- If your goal is to truly learn how your camera works, ignore the majority of the symbols on the dial. Those are just pre-set options. Manual is super scary, but aperture-priority and shutter-speed priority are great because they still adjust the big three factors (ISO, shutter speed and aperture) so that they will balance out. If you’re taking a picture of something relatively still, choose aperture priority. If you’re trying to photograph something moving, like a child or pet playing, or a sports event, choose shutter-priority.
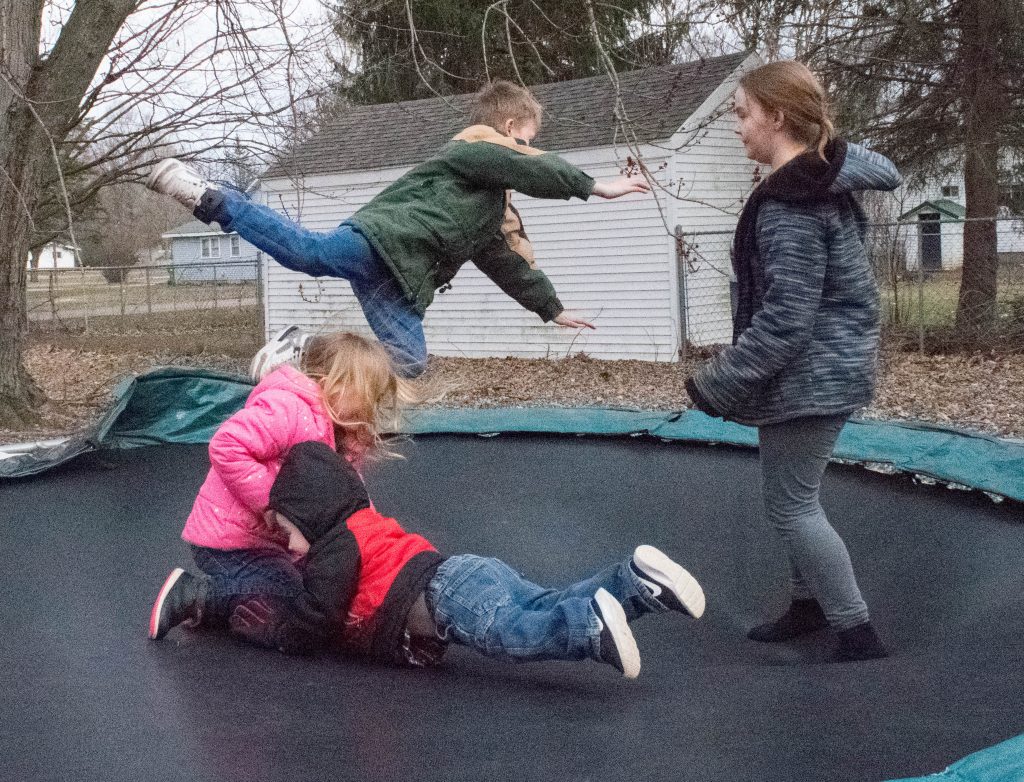 The ISO was too high here, but this was my first real try playing with shutter-speed. It was fun!
 - If you are holding your camera by hand regularly, set your minimum ISO to 1/60 of a second. Going lower than that is likely to introduce shake. If you want a better shutter-speed, use a tripod.
- Set your camera to record photos in raw (instead of JPG or others) for the most editing options in lightroom. When you shoot in raw, you can open the photo in lightroom and adjust the lighting between things like tungsten, daylight, cloudy, and so on. If you shoot in JPEG, you are left with just the way the photo shot. Raw photos capture much more data so the are large files, and they can’t often be used directly on social media site so you’ll have to pass them through lightroom and save so you can use them on most websites, but the additional editing options are really nice.
- Light is still king. You’ll still get noise/pixelation/grain in your photos if you don’t have nice lighting. The better light you have, the lower our ISO can go which makes for a better photo. Taking photos outside or near windows, or with photography lighting is still going to get you the best results. I’ve found that opening ALL of my curtains in the house helps. I tend to take photos in my kitchen because there are glass french doors that let the most light in, but opening my curtains in the living room (the closest nearby room) makes a tiny difference in lighting and can give me a slightly better ISO. I set my camera to not allow me to go higher than 12800. To get pinterest-quality photos for this recipe below, I set up my studio lights.

- Flash is something to try to avoid as much as possible. Natural lighting is always better. However, if I am maxing out my Iso at 12800, I will opt for flash over all the noise/grain that would be introduced at that point. To reduce the harshness of the built-in flash, use a tissue paper, napkin or thin cloth in front of the flash as a dirt-cheap way to diffuse the flash.
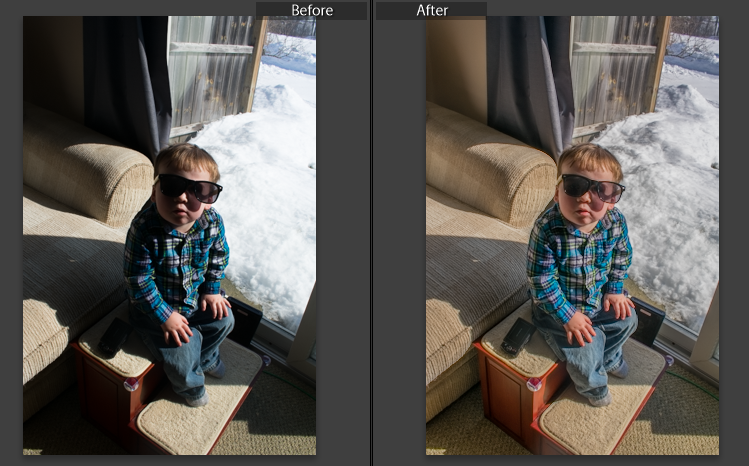
- In lightroom, you can really, truly, reduce over-exposed areas by lowering the highlight adjustment, and you can lighten shadows by raising the shadow brightness.
- Yes, aperture priority is the way to go when you are trying to get background blur. There is perhaps 2-3 feet between him and the wall in the photo below. If he were standing right up against the wall it would have blurred less. I think 5+ feet would be more ideal.

- UV filters are these super thin lens covers that are designed to remove that blue cast from photos taken in natural light. However, I read that many people buy them just to protect their lens from being scratched or getting dusty and so on. I bought one for my main lens (I rarely use the other) for $7.99 on Amazon. It screws on and is so small that you can still put the lens cap on with it in between. I see no difference in the color/shade or clarity of my photos. If it gets damaged, it’s easy to replace at $8 and it’s easier to clean because it can be removed.
- When editing, ‘removing noise’ and ‘adding clarity’ kind of contradict each other. If you have a high ISO image and need to remove noise, you’ll lose clarity. If you add clarity, you may also introduce more noise.
- A great way to expand your photography skills is to simply try things. When you find yourself frustrated with something not looking good, or you realize you want to improve your photos in some way, start googling. For example, I was trying to take photos through a window without focusing on the screen. I got it a few times, and then after that it kept focusing on the screen. I couldn’t figure out why, so I googled tips for taking photos through a screen or fence.


Much of what I have learned has come from the YouTube channel RealWorld. He does a great job of explaining photography stuff to newbies in a very clear way. I definitely recommend his channel.

Subscribe Via Email
Leave a Comment